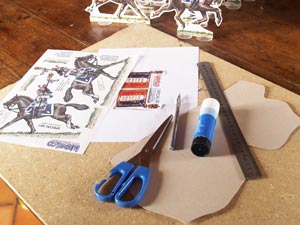
 1. You need a piece of cardboard the size of your soldier, a work board to cut on, scissors, a sharp craft knife, glue and a metal straight edge to cut against. |
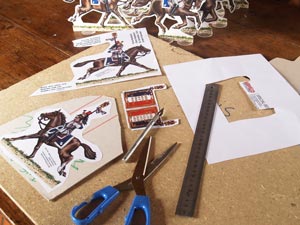
2. Using the scissors cut out one of the sides of the soldier and the full flag leaving plenty of white paper around each. Then Glue the soldier to the card. |
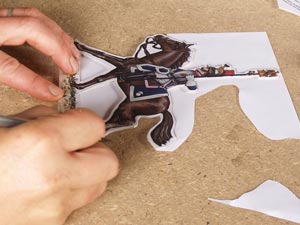
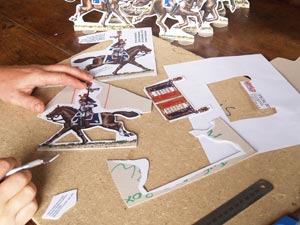 3. Make sure the glue has dried. Using the craft knife on the work board carfully cut out the soldier. I leave a few milimetres of white all around my soldiers. Use the metal edge to cut the base of the soldier straight.
|
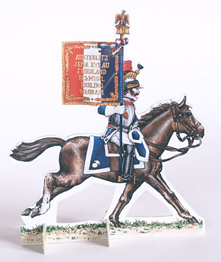
4. Check the flag against the soldier's flag pole. Notice where the flag attatches to the pole and carefully cut out the flag from its white surround. However, leave the paper which joins the two flag sides. Fold the flag at the fold line. |
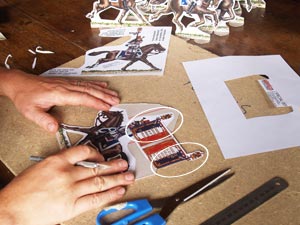
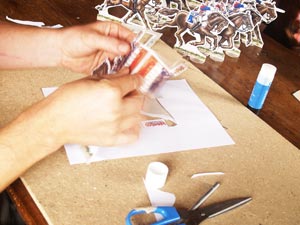
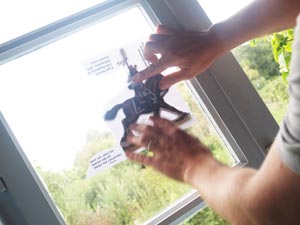 5. Cut out the soldier's b-side leaving plenty of white suround. Apply glue to the back of the b-side. It's tricky to glue this side onto the back of the a-side. I put the card up against a window so i can see through the b-side when I locate it on to the back of the a-side. |
 6. With the b-side placed correctly on to the card return to your work board and smooth it over carefully. I use a 'clean' old sock! When the glue has dried you can trace around the shape of the card board trimming away the excess white. |
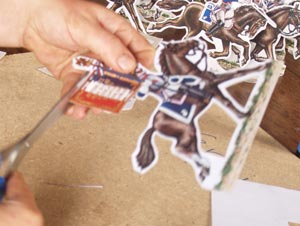
7. Align the flag with the flag pole. I decided to cut away the back part of the ribbon on the flag pole at this point so it can attatch more simply. Apply glue to both sides of the flag and place it against one side of the flag pole. fold it about the fold line. Ensure both sides are located correctly against the flag pole and smooth together. |
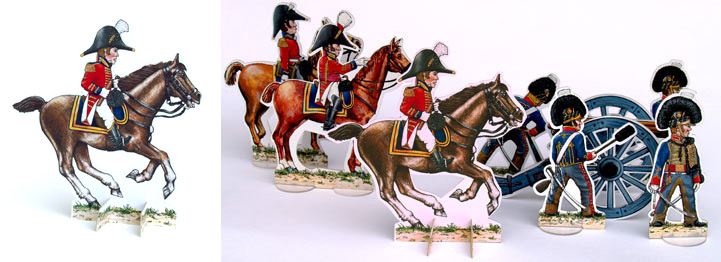
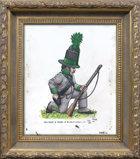
8. Let the flag dry thoroughly and then trim the excess white from about the foldline and any where else. To make the flag seem like its flapping in the wind I bend the flag slightly. To make the curassier stand stick the ground provided onto both sides of two strips of card. Cut slots half up in to the strips of ground. |
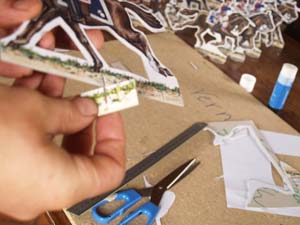
9. Cut two slots half the stip hieght into the horsemans base. It's best to do this where the horse legs meet with the ground. Slot the strips of ground into the figure base. |
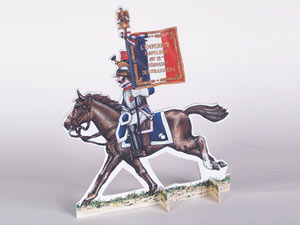
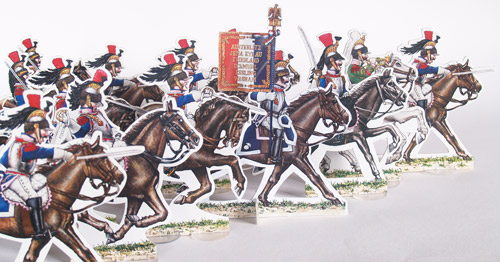
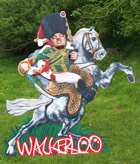
10. Your figure is finished and ready to ride with the rest of his regiment. If you made any mistakes you can always make another, and another, and another, and another... |